The single most important skill of your success depends on your ability to get things done on time. That ALWAYS begins with maintaining your personal space. So I ask you, Is your desk a mess or contributing to your success?
Here are four “Organize Your Desk” steps you can do yourself in one day, just like I do with my Clients across the country whether by phone or in-person.
1. Clean Up Your Desktop
Stack papers into a neat pile (or piles) on one side of your desk. Then pick up remaining items and ask, Where does this go? Rubberband business cards put Contact Phone numbers into an envelope, toss lunch supplies. Dust the top of the desk.
Now mentally divide your desk in half horizontally. The top half of the desk is the “Outer Workspace” and generally includes your phone, planner, To Do list for today, computer, and “outgoing” papers on the corner where you leave the room. The half closest to you is the “Inner Workspace,” that should be clear to focus on work at hand. Clear this off every day before you leave.
2. Organize Your Supply Drawer
Empty your supply drawer on your clean desktop. Now wash it out. Put in a divided desk supply tray with separate compartments for large and small paper clips, large and small Post-It notes, selected pens and pencils, scissors, letter opener, stamps, and return address labels. You only need one ruler, stapler, and staple remover. Store the rest of the supplies elsewhere or get rid of them. You’ll work faster if the supply drawer is sleek and clean!
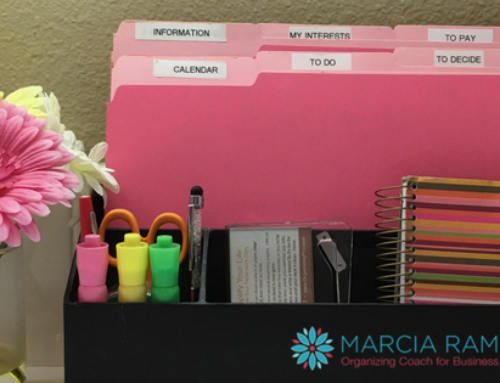
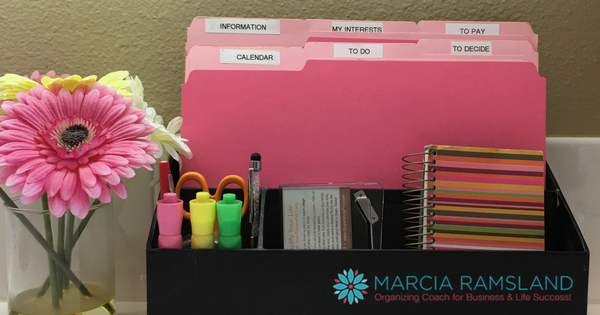
3. Turn Your Paper Pile into Action Steps
Turn the pile upside down and pick up the first paper on the bottom. Ask, “What is the next action with this piece of paper?” Here are your options:
A. Read and Toss. Seventy to 80 percent of daily papers should be handled this way.
B. Redirect It. Put it on the“Out” corner of your desk with a Post-it note of who it goes to and what they should do with it.
C. Master To Do List. Write things you need to do on the “Master To Do List” and put single sheets of work into a brightly colored file folder marked “To Do.” Nothing goes in there without being listed on your Master To Do list which you keep on your desk. For projects with more papers, create a file folder with its name. Put that file into the “Work” file Drawer closest to you. Work until you create a clear workspace in the center of the desk.
4. Do Master “To Do List” Tasks
Count the number of tasks on your Master To Do List and divide it by 5 days. That’s how many tasks you need to do each day to catch up in a week. If that’s too much divide it by 10 and give yourself 2 weeks. If that’s too much, cross off â…“ of the items to make sure only your highest priority actions remain on the list.
Your desk. I guarantee you’ll get more done in life if you can master “Desk Cleanup” whenever you need it. The more you do it, the less you’ll need it.


Yesterday and today I cleaned out and organized my desk drawers. This afternoon I’m doing more work on my files and getting acquainted with my planner. Time management and paperwork are my 2 biggies, now that my home is decluttered…
The planner is working well. I just finished deleting a whole bunch of old (and some new) work emails. It sure feels good / freeing to hit the delete button!
Tomorrow I am starting Simplify Your Life video series (along with the weekly worksheet from your Monday radio show) as an introductory women’s S.S.class, with plans to do a more in depth version with the book and workbook in the fall.
Thanks for your help and encouragement.
Marie Dale, Canada
That’s so true Marie – once you organize your “space” you can focus on organizing your time and paperwork! Glad you are going to teach Simplify Your Life DVD series and let others experience the joy of getting their lives in order. It’s a freeing way to live.